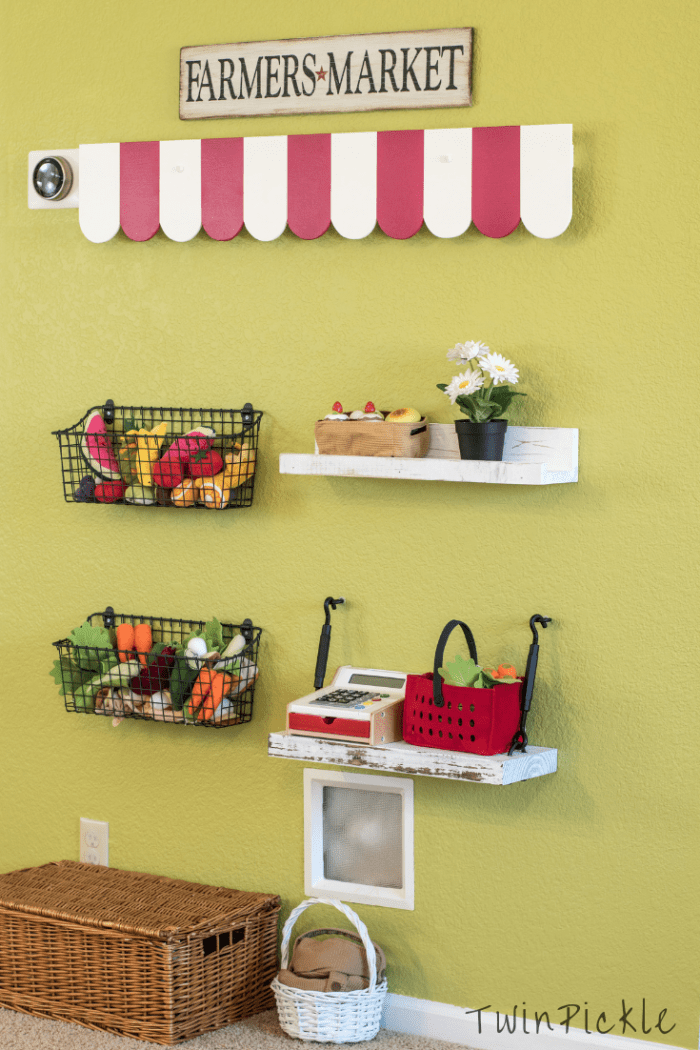
I’ve been meaning to put together a DIY market stall for the kids for some time. Despite the age gap, playing shop is one of the few activities they can (usually) do together without falling out! They love their little play kitchen and I thought it was time they got to shop for ingredients.

*This post contains affiliate links. This means I may get a commission if you decide to purchase one of the products I link to. For more information, read my Privacy Policy*
Rather than build a large enclosure, this DIY market stall is fixed to the wall, keeping it compact. It works great in the awkward in-between space I have between the kids’ bedroom doors. It was wasted space and I’ve been trying to work out what to do with it. Following my playroom reading nook project, I decided to extend the bold green wall further around the room and add the DIY market stall to it. Slowly, I’m working on creating the ultimate playroom!
How to Create a DIY Market Stall
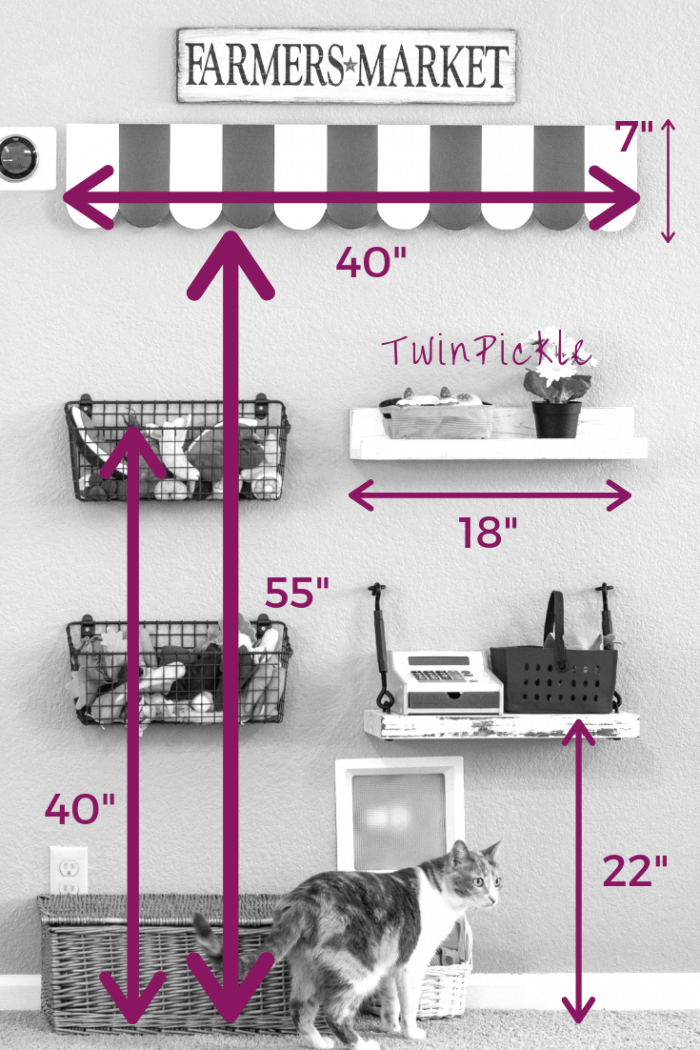
The most difficult part about building the DIY market stall is setting it all out. Deciding on child-friendly heights and what will line up with what. Your play space and children may require different dimensions but I think it’s worth sharing the scale of mine so you have a starting point!
The Canopy
I considered building a large canopy out from the wall but decided it would be too invasive in the room and more difficult and expensive to make than the little canopy I ended up with. I used a piece of 2×2″ to push the canopy out from the wall, giving it a 3D effect without creating something they’ll bang their heads on. The canopy actually cost me nothing because I used scrap wood I had leftover from my DIY toy box project and the pink paint was a tester I bought last year. I was excited to find a use for it to justify my hoarding, ha!
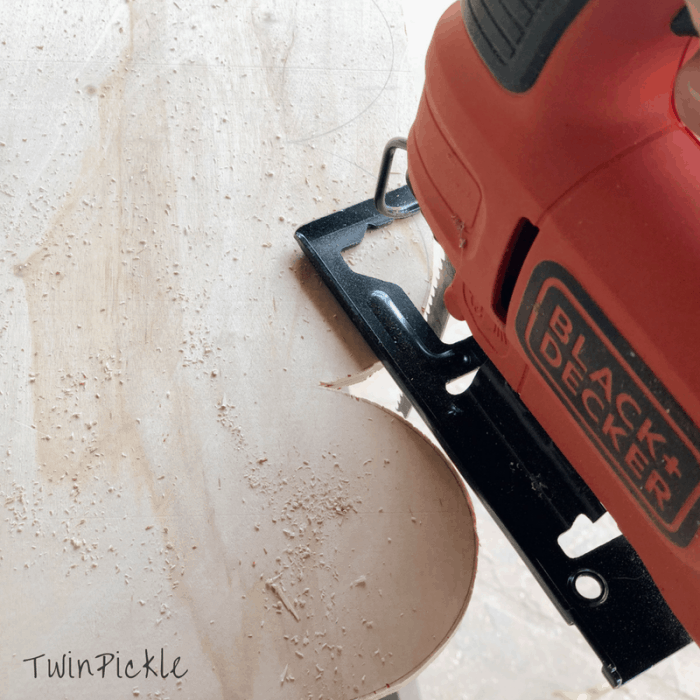
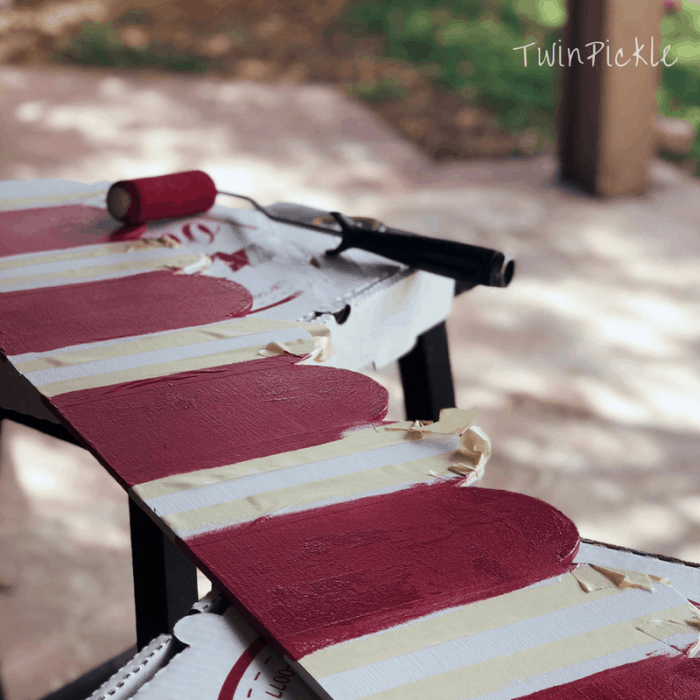
I used a pencil to draw out the canopy shape before cutting it with a jigsaw. I used a plant pot to draw around and create the curves of the scalloped edge and I was surprised at how smoothly it all went. I painted it white and then used masking tape to create the pink stripes. I fixed a 2×2″ to the wall using large screws and drywall plugs and screwed the canopy to the 2×2 afterward using screw head covers to finish it neatly.
The Sign & Shelves
I would love to say I made the sign and shelves myself but in all honesty, I just didn’t have the time. Plus, some time ago I won a blog post competition run by Etsy and I had a voucher to spend! My post about the perfect gifts for twin moms won a prize for Mother’s day gift guides… pretty awesome if I don’t say so myself!
The are loads of crafty farmhouse style signs on Etsy so have a browse. Here are some of my favorites:
[easy-image-collage id=6097]
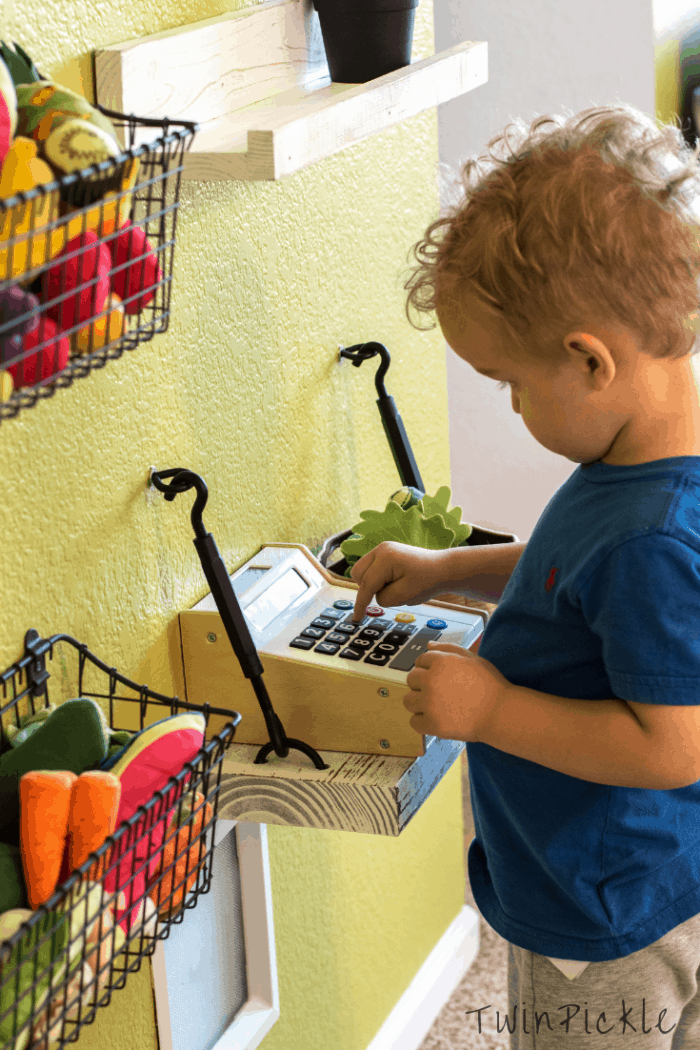
I chose the adorable Farmer’s Market sign from ‘Farmhouse Home Decor’ and the floating and handing shelves from Rustic Decor Shop. I wanted to make sure the lower shelf was deep enough to hold the cash register. The cash register itself is from IKEA but if you don’t have one nearby try this one from Amazon… it comes with a credit card machine which is pretty cool!
The Food Baskets
I spent far too long browsing the internet for the affordable storage baskets for this project. I was trying to keep it frugal, and with my Etsy voucher and canopy made of scrap material I was doing pretty well. I finally decided on these Cabinet Door Organisers from Wayfair but there were lots of other ones I liked too so I featured a few below!
[easy-image-collage id=6103]
The food itself and the little red shopping basket came from IKEA. I love their toy section, such great value for money! It’s machine washable too which is genius.
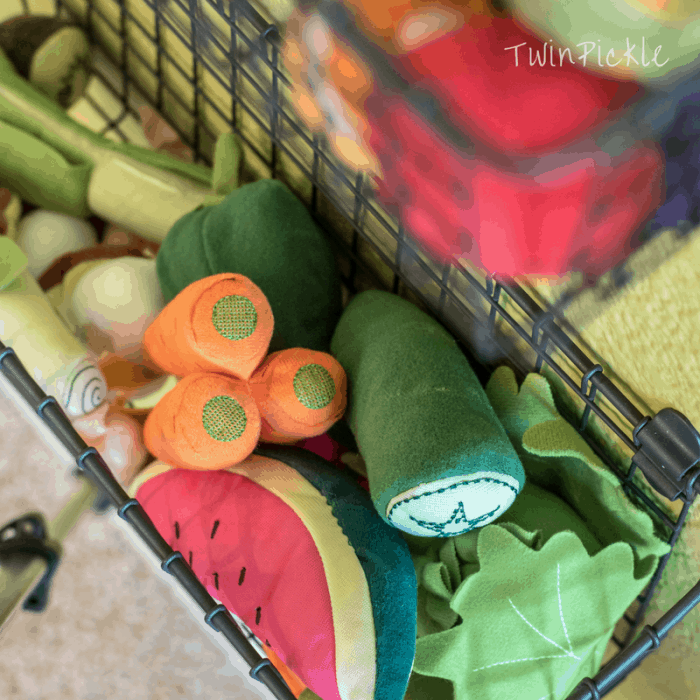 If you don’t have an IKEA on your doorstep there are lots of awesome alternatives. Play food comes in all sorts of materials, my faves are featured below:
[easy-image-collage id=6109]
The Finished Farmer’s Market
The kids are really pleased with their DIY market stall and have lots of fun shopping and making picnics. Once I’d chosen all my materials it was really quick to put together. Just remember the spirit level and tape measure!

