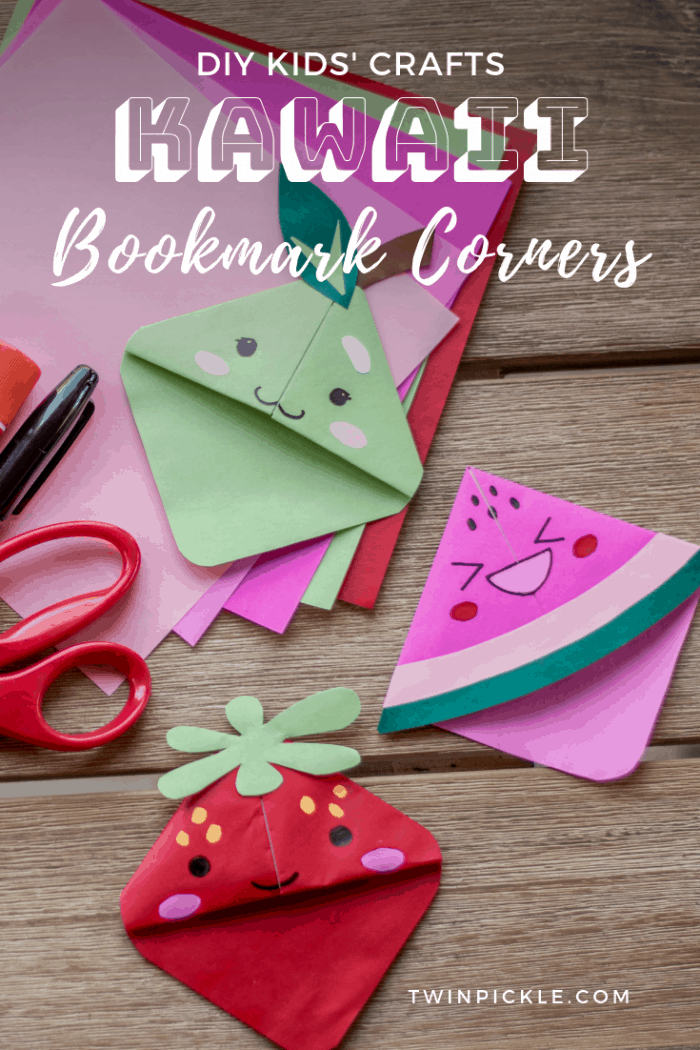
These simple Kawaii bookmark corners and quick to make and once you break the seal you’ll have a whole fruit bowl in no time! This easy kid craft is perfect for my 8yr-old but is totally attainable for younger ones too. Once you’ve mastered the basic bookmark corner origami, you can quickly decorate with a marker or layer paper for a more detailed design.
Elsie and her friends are breaking into an origami craze. Endless ‘cootie catchers’ (origami fortune tellers), paper springs and little cards. So I bought some origami paper to have fun making swans and other elaborate designs together. Trouble is, she’s 8yrs-old, and patience and dexterity are limited. I’ll be honest, at 36yrs-old, it took me three attempts to make the ‘crane’ in the instructions and it looks more like a broken chicken.
Instead, we decided to take a step back and create some Kawaii bookmark corners. If you don’t know much about Kawaii, it’s a branch of Manga, a style of Japanese comic books. Kawaii means ‘cute’, so unlike the tough samurai characters you get in some Manga, Kawaii is full of cutesie pop-art style characters… think Hello Kitty.
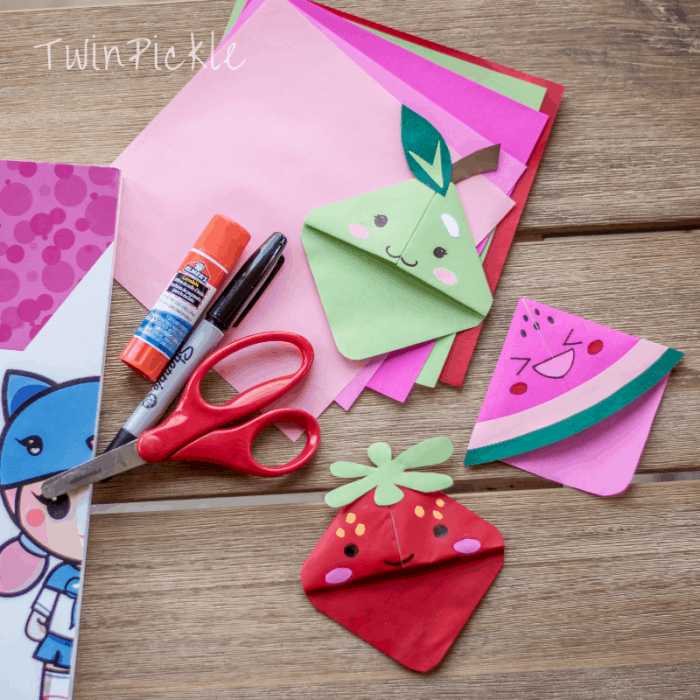
Materials Needed for Kawaii Bookmark Corners
- Square paper (we used Aitoh Orgimagi Paper);
- Scissors;
- Glue stick;
- Marker;
Not required but totally this book is awesome if your kid wants to learn about drawing Kawaii: Manga for the Beginner Kawaii. I’ve mentioned Elsie’s love for Kawaii before in my post about tween girls’ rooms and I’m pretty sure the craze is here to stay!
Kawaii Bookmark Corners Tutorial
The pictures explain a lot and these kawaii bookmark corners are super simple!
To Make an Origami Bookmark Corner
- Fold your square piece of paper in half from corner to corner. Orientate your folded paper with the long edge towards you.
- Fold the right-hand corner upward to meet the top of the triangle.

- Fold the left-hand corner upward to meet the other side.
- Push along edges to make a crisp fold and then open up again, returning to the original triangle.
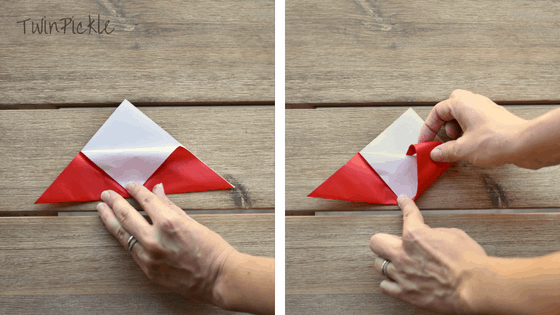
- From the top of the triangle, fold a single layer of the paper downwards, bringing the point of the paper to the center of the triangle base.
- Bring the right-hand corner back up and fold over the single layer of paper you have just folded.
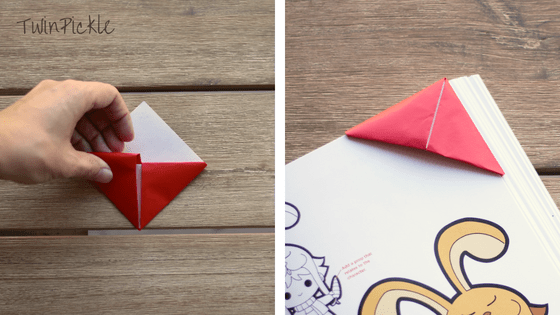
- Bring the left-hand corner up and over in the same way and you have a simple origami bookmark corner!
To Decorate and make a Kawaii Bookmark Corner
- Because origami paper is only colored on one side, use a glue stick to attach another layer of your chosen color to the back of the bookmark corner. This is not essential but looks prettier and also stiffens the back a little.
- For rounded fruits like the strawberry shown, use the scissors to trim the sharp corners into a slight curve.
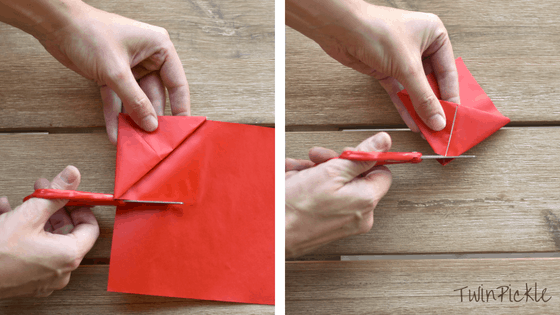
- Cut and stick the fruit details from other colored paper (origami paper is perfect because the colors are so bold).
- Add eyes and a mouth with a marker. Kawaii characters tend to have simple designs in bold, unrealistic colors, making them perfect for this project. Eyes are usually simple black dots or they may be winking of sleeping. All simple to draw for all ages!

Other Fruit for Kawaii Bookmark Corners
You can make your kawaii bookmark corners into any fruit you like. We picked an apple, watermelon and strawberry but I could see a pineapple being fun too!
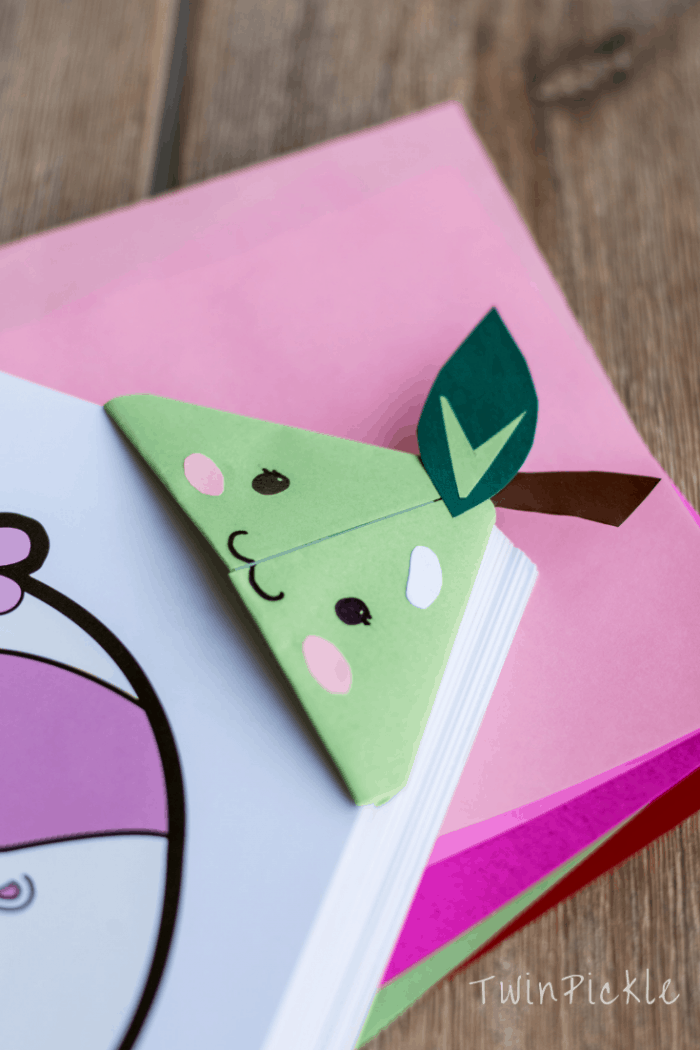

We had lots of fun making these and I’m sure the origami phase is here to stay for a while so I’ll keep working on my crane…


One response to “Fruity Kawaii Bookmark Corners: Easy Kid Crafts”
[…] Source: Twin Pickle […]