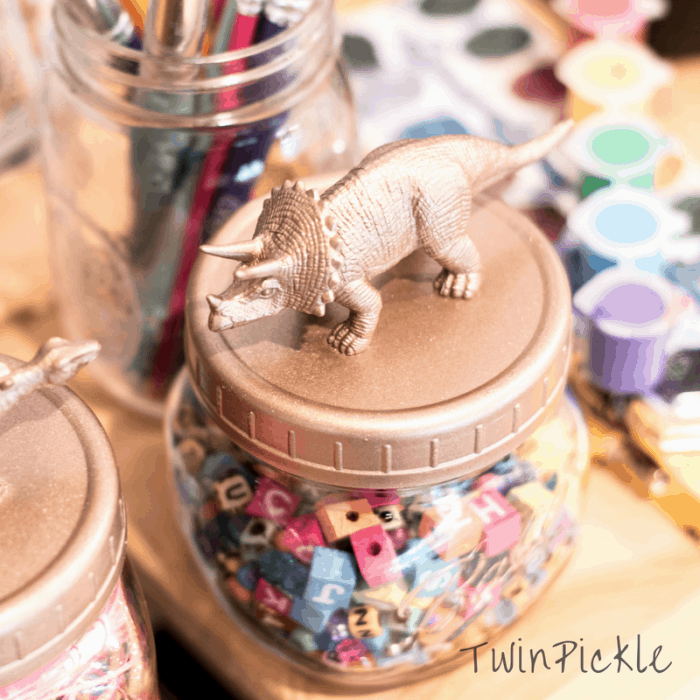
I was in the mood for a project this weekend but didn’t have much time. I have been admiring plastic animal crafts on Pinterest for a while and thought it was time I had a go myself. These DIY dinosaur mason jars are so simple and take no time at all to put together. The result is pretty adorable and I’m certain anyone has the skills to do it!

*This post contains affiliate links. This means I may get a commission if you decide to purchase one of the products I link to. For more information, read my Privacy Policy*
The Twins particularly enjoy sticking and collage at the moment and I’ve decided to use my DIY dinosaur mason jars to store googly eyes, macaroni, and all that messy crafty stuff. I want to come up with a better storage solution for all our drawing and crafting supplies because they’re starting to take over the house, so these jars will help me get in the organizing mindset.
I have a whole load of plastic reusable lids for my wide ball jars. I have a big stash of lids and jars from when the Twins were eating homemade puree. The wide mouth pint-sized jars can be frozen so they worked perfectly for the quantity I needed for two hungry boys.
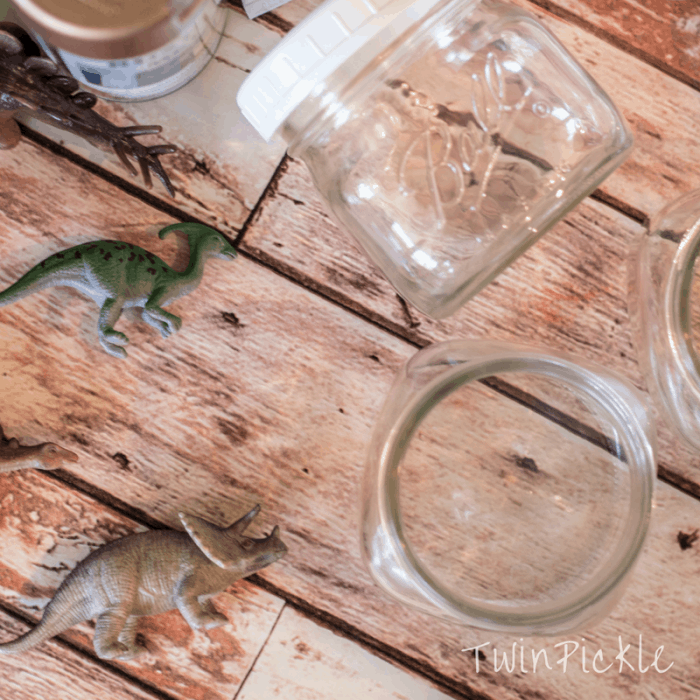
I tried using regular super glue but they didn’t hold very well so I opted for a two-part plastic bonding glue which worked really well. Overall the project was really easy and I’m sure the Twins won’t miss three of their plastic dinos too much! We have a mixed sized dino set from Target but I see that Amazon also sell a set of 12 that would be the right size for wide jars. The dinosaurs I used measure 3.5-4 inches. in length.
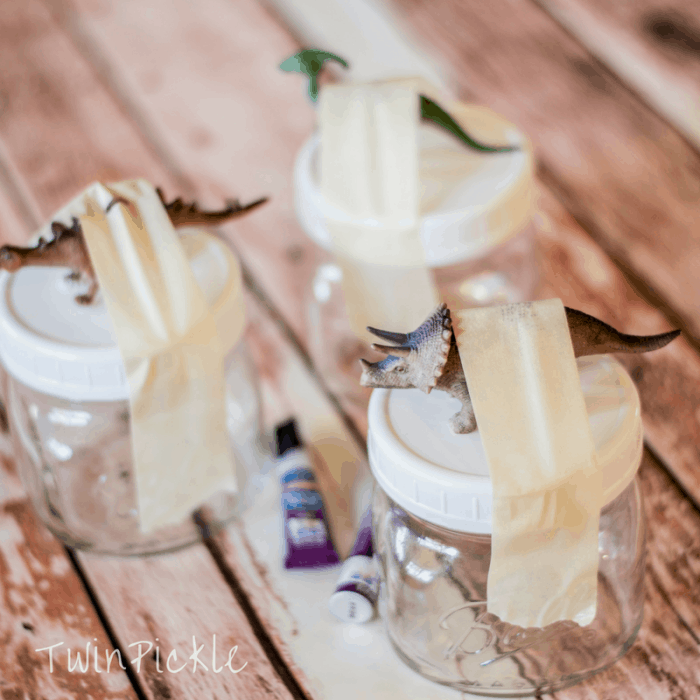
DIY DInosaur Mason Jar Materials
- Mason Jars (I used Ball Elite Wide Mouth Jars)
- Mason Jar Lids (I used Ball Reusable Platic Lids)
- Plastic Dinosaurs (I used 4″ dinos from the Terra Prehistoric Playset)
- Sandpaper (i used a 3M sanding sponge)
- Plastic Bonding Glue (I used Loctite Super Glue Plastics Bonding System)
- Masking Tape (I used Scotch General Purpose)
- Spray Paint (I used Rust-Oleum Rose Gold Metallic)
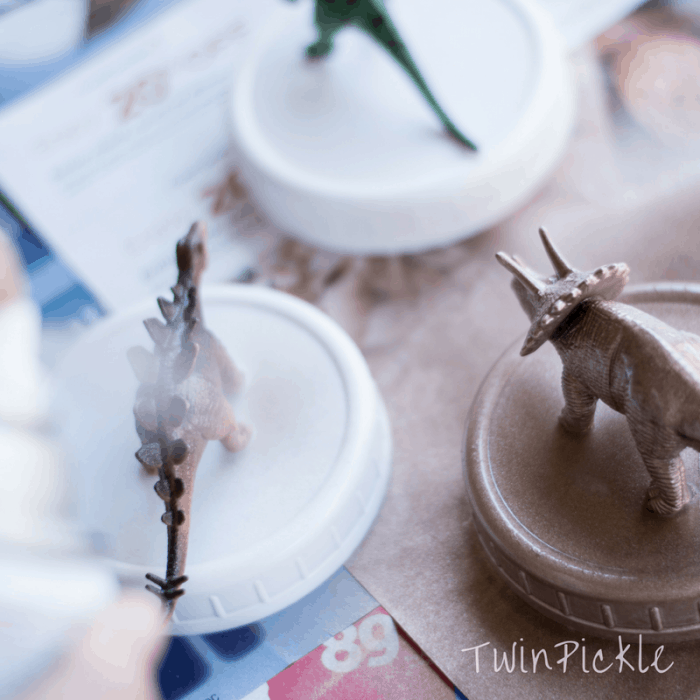
DIY DInosaur Mason Instructions
- Use sandpaper to lightly rub down the plastic lids and dinosaurs. Wash and dry thoroughly.
- Use a two-part plastic bonding glue to stick each dino to each lid. Do this with the lids screwed onto the jars because you will be able to see the orientation of the dino when the jar is fully closed.
- Push down and hold for bonding time as per your glue instructions. I used the Loctite plastic bonding system and held for 30 seconds. I also chose to fix the dinos in place with masking tape for 30minutes, just to make sure I had a secure stick!
- Spray with paint, outside or in a ventilated area. I went metallic but you can use any color you like!
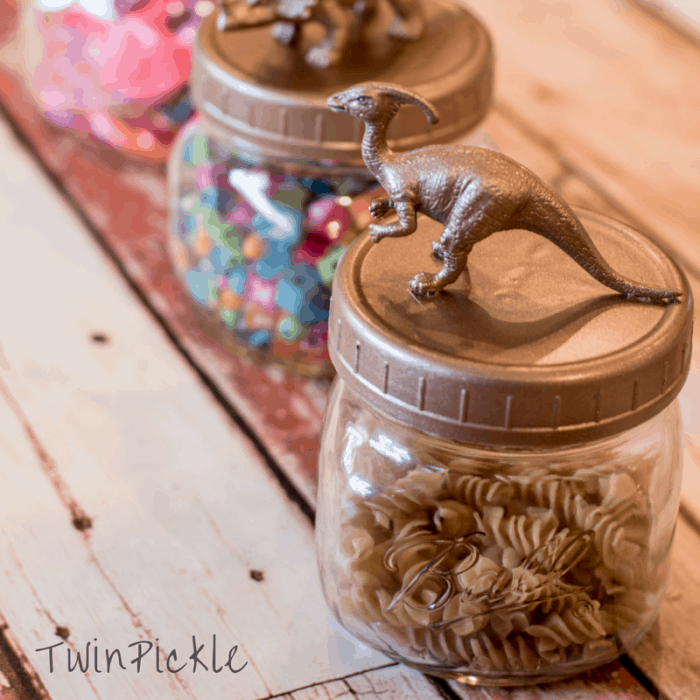
I love how my DIY dinosaur mason jars turned out and they were so easy to do! Feeling accomplished and crafty for the weekend. Get your dino on the go!
Slightly random but also related… If you’re in the market for some dinosaur wallpaper, I spotted these and love them all. I needed somewhere to post them and now I have it!
[easy-image-collage id=5758]

